This is the third piece in a five-part series exploring how to develop civic technology with, not for communities. Each entry in this series reviews a different strategy (“mode”) of civic engagement in civic tech along with common tactics for implementation that have been effectively utilized in the field by a variety of practitioners. The modes were identified based on research I conducted with Smart Chicago as part of the Knight Community Information Challenge. You can read more about the criteria used and review all of the 5 modes identified here.
MODE: Create Two-Way Educational Environments
The first two modes encompass strategies and tactics for starting civic technology projects within existing community contexts, both in terms of social infrastructure and technical infrastructure. The next three modes will address ways to affect these structures.
Adding new technology into the infrastructure of a community is more complicated than simply teaching community members how to use the new tech. For the skills and tech-use to stick, communities have to have the opportunity to integrate the new tools and new skills into their lives on their own terms. In an educational setting, this translates to allowing community members to tinker— to play and feel ownership and figure out how they relate to the tech (or don’t).
It also means creating environments where the teacher is actively listening and responding to the ideas and stick-points offered by participants. Rather than pushing on the development of a single skill, a teacher in a two-way educational environment treats every training as an opportunity to listen as well as be heard.
As people learn, they tend to express wants and needs that are particular to the tool they’re using as well as how that tool could relate to their lives. Two-way teachers keep their ears perked for both, and seize opportunities where issue overlap allows for skills development to translate into community-driven tech development.
Start with Digital/Media Skills Training
Many community-driven civic technologies are the product of training in foundational media and digital skills that open up immediate and long-term opportunities for co-development.
Hidden Valley Nature Lab, a student-run experiment in place-based learning using QR codes, came from digital skills training at a public high school. Teachers gave students the chance to develop an idea inspired, but not directly taught, during class and the lab and associated work developed as a direct result.
The impact of digital training is not always so immediate, however. For example, LargeLots.org, a web platform for purchasing city-owned vacant lots, was made possible through paid support for a digital literacy instructor (“tech organizer”) at a local community organization. This trainer’s job was explicitly to teach, listen, and find opportunities to connect the needs of community groups with appropriate technological solutions — something residents were able to capitalize on during the development of the Large Lots Program.
![]() Similarly, The NannyVan’s Domestic Worker Alliance App was also the product of a longer-tail two-way educational initiative. The app, a phone hotline structured around a fictional, educational show, was developed in coordination with a hyperlocal partner and the domestic worker community in New York. The NannyVan developed a relationship with this community through a media production training. Later, when an advocacy opportunity arose, the local partner turned to The NannyVan team to co-develop a tool that would best fit their social and technical needs, trusting The NannyVan’s approach based on their previous experience.
Similarly, The NannyVan’s Domestic Worker Alliance App was also the product of a longer-tail two-way educational initiative. The app, a phone hotline structured around a fictional, educational show, was developed in coordination with a hyperlocal partner and the domestic worker community in New York. The NannyVan developed a relationship with this community through a media production training. Later, when an advocacy opportunity arose, the local partner turned to The NannyVan team to co-develop a tool that would best fit their social and technical needs, trusting The NannyVan’s approach based on their previous experience.
One of the longer-tail impressions of this tactic is seen in the creation of Detroit Future Media, an intensive digital literacy program crafted to support Detroit’s revitalization, created by the Detroit Digital Justice Coalition. In 2009, fueled by a grant from the Broadband Technology Opportunities Program (BTOP), the Allied Media Projects (AMP) had an opportunity to expand broadband Internet adoption in Detroit’s underserved communities — communities that were already reaching out to AMP looking for digital and media skills trainings. As AMP notes in a later report, as they approached the idea of expanding not just how the Internet could be physically accessed, but how digital technologies could be sustainably leveraged by communities for their own needs, they encountered an unavoidable capacity gap.
“…there were few people in [Detroit] had the special combinations of technical skill, teaching experience in non-academic settings, community connectedness and desire to use media for community revitalization.”
So, AMP had an idea: what if the BTOP grant could be used to train trainers — folks who were already acting as teachers, connectors, and leaders in the context of Detroit’s many communities? To pull this off, AMP joined with 12 other community organizations to create the Detroit Digital Justice Coalition, which applied for BTOP funds to create the Detroit Future trainings along with a few other programs.
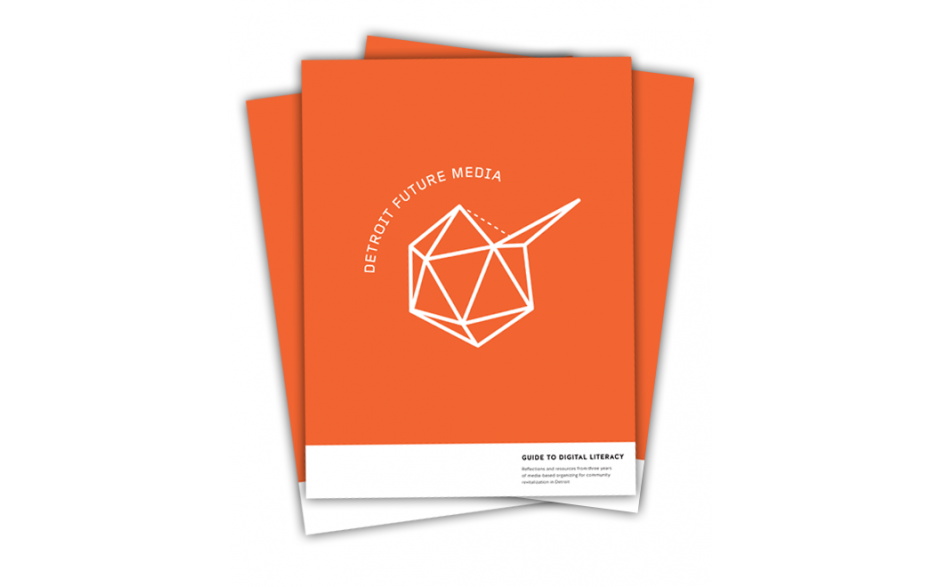
Detroit Future Media’s Digital Literacy Guide
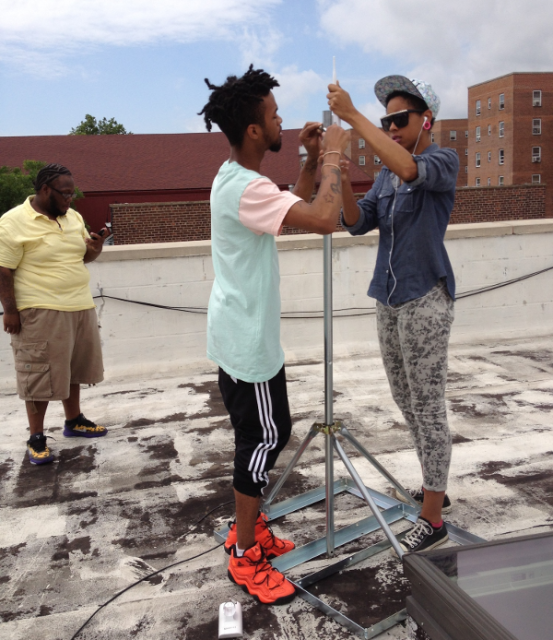
Approaching technology training from this relational perspective allowed the impact of teaching one individual to be immediately amplified and interconnected through social infrastructure — and created new structures that support continued development at both hyperlocal and city-wide scales. One outcome was the creation of a Digital Stewards program to create and maintain community wireless networks across Detroit.
Co-Construct New Infrastructure
On-site learning can also be two-way. Between 2002 and 2010, the Prometheus Radio Project worked with over 12 communities around the country and the world on barnraisings — a method of rapid construction for community radio stations. With an explicit nod to the Amish tradition, radio barnraisings bring together locals (through the stewardship and organizing capacity of a local community group (see parallels to Mode #1 here)) and radio experts and advocates from around the region to go from idea to live on the air over the course of three days. In addition to literally co-creating new technical infrastructure, volunteer facilitators lead workshops throughout the barnraising to get community members up to speed on federal regulation, radio engineering, programming and the lobbying and advocacy needed to keep their stations on the air over time.
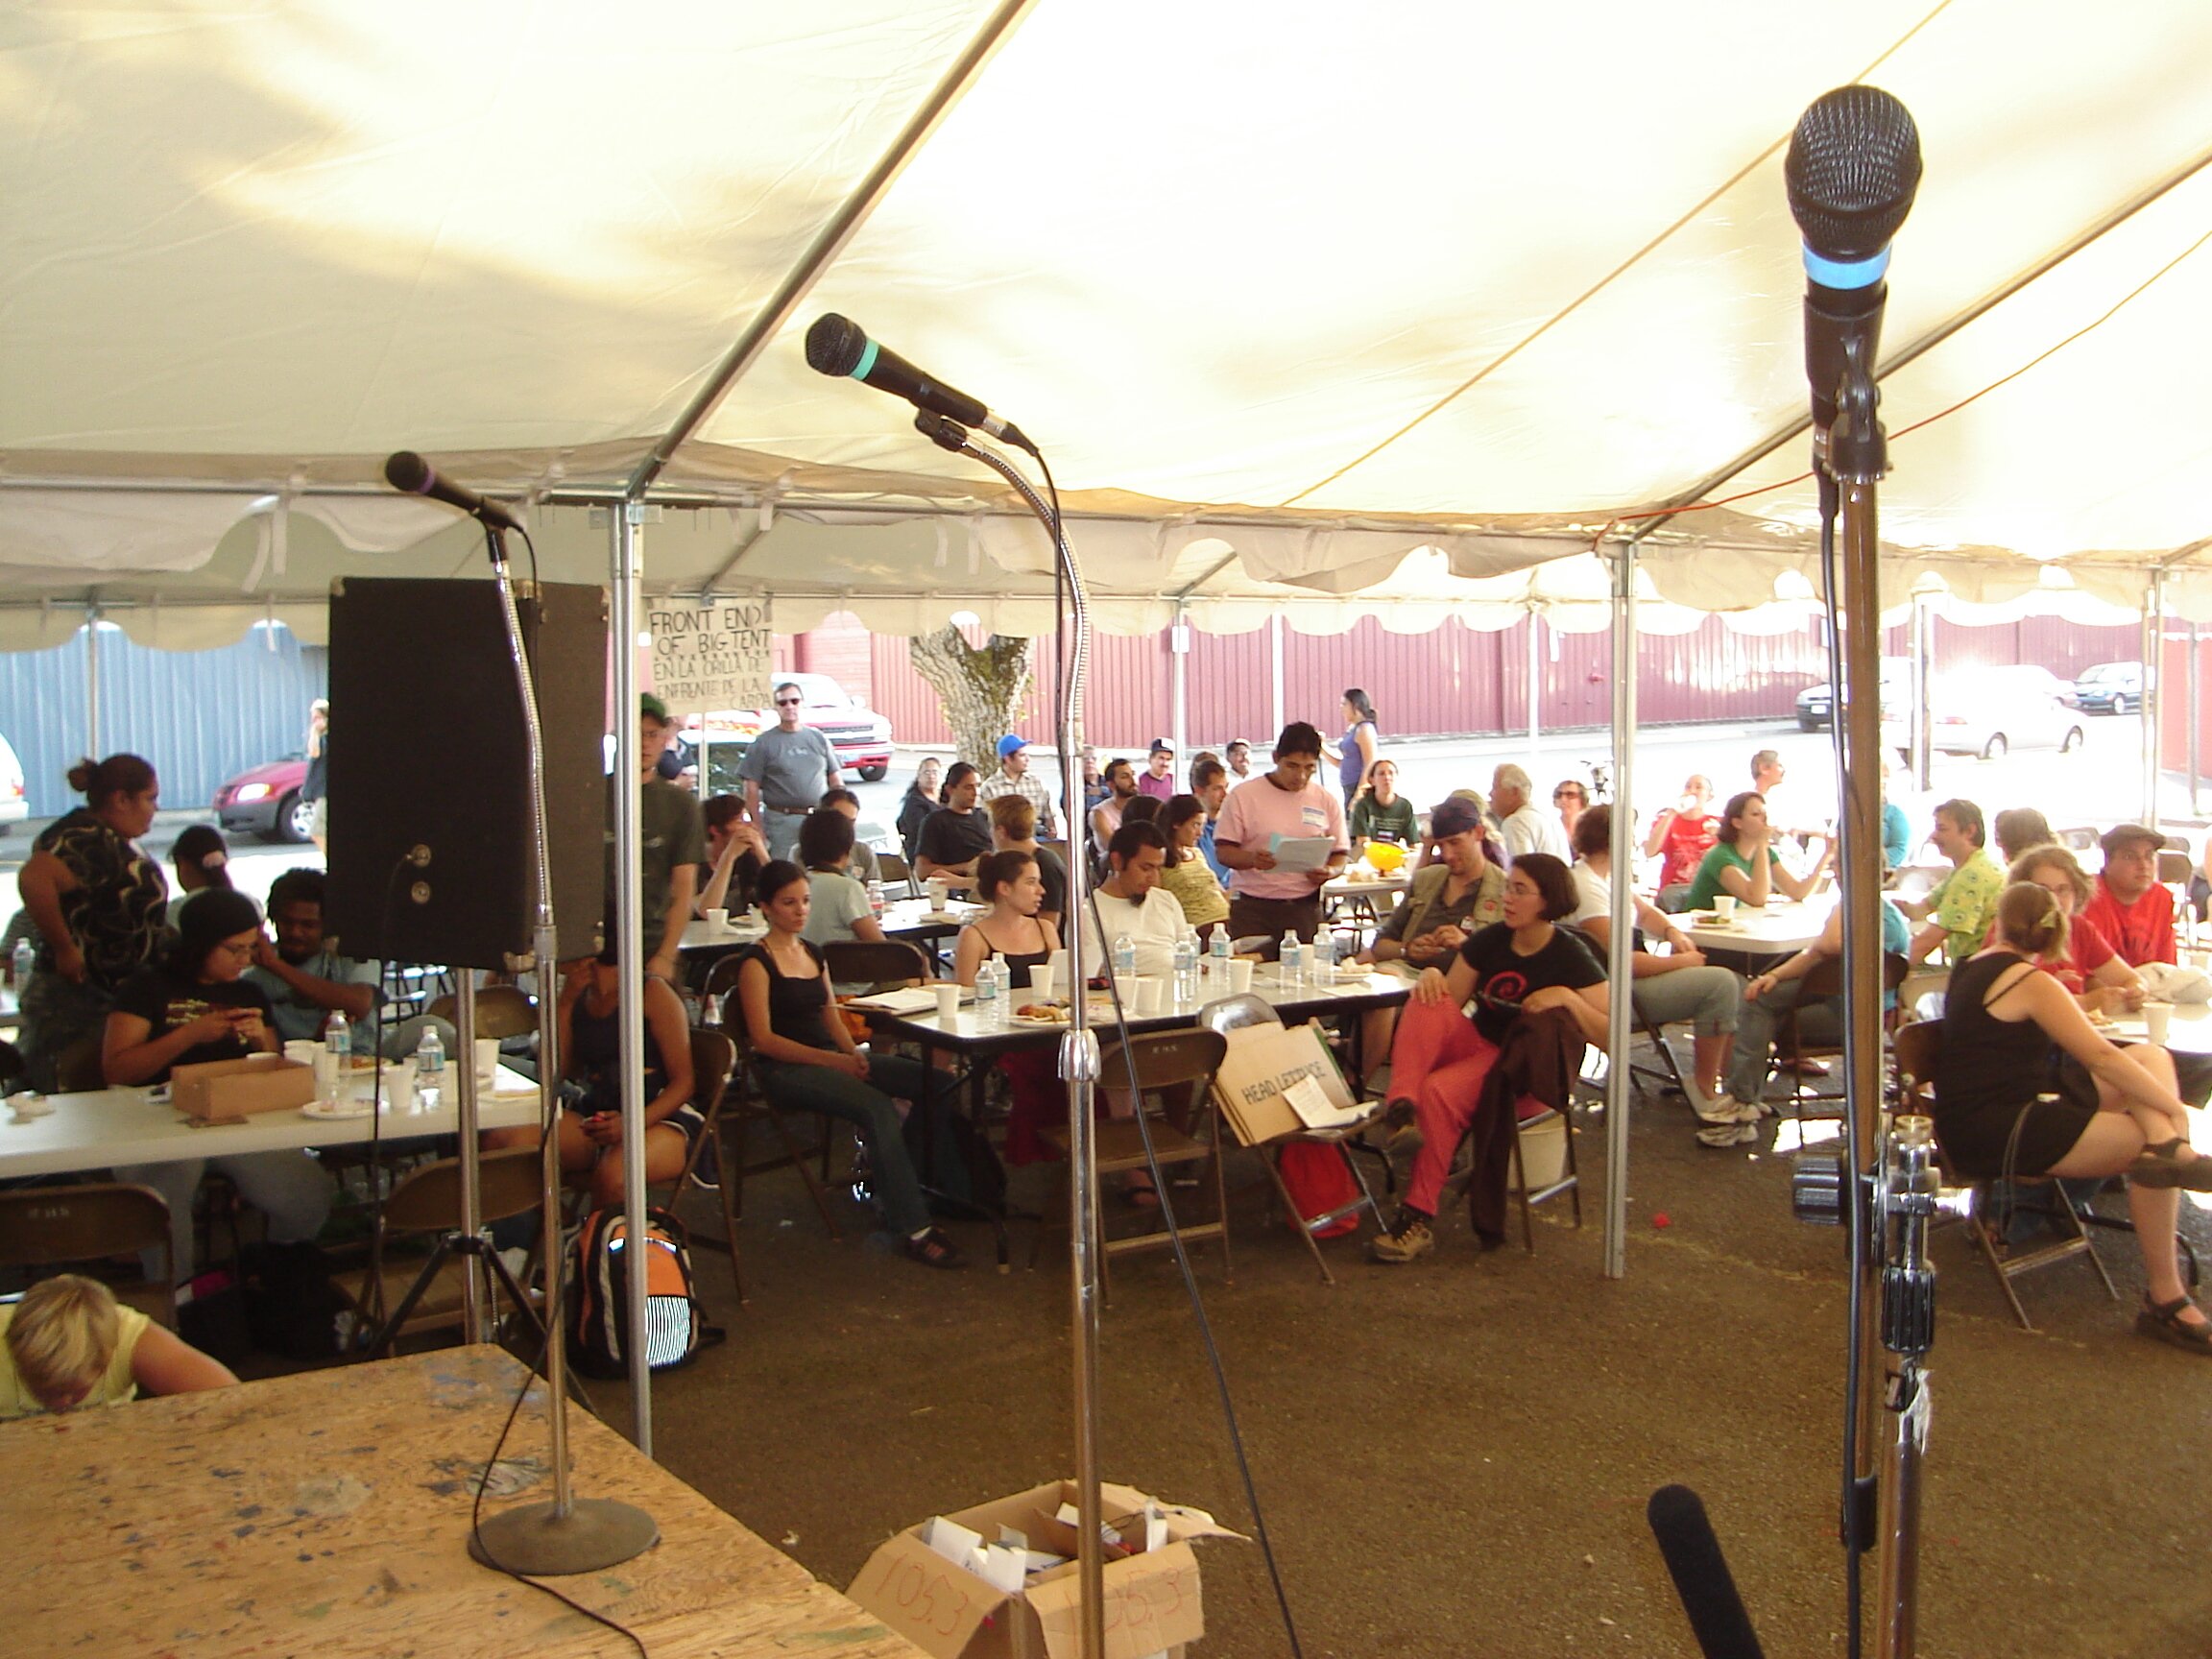
A crowd waits for a world premiere broadcast after the Pineros y Campesinos Unidos del Noroeste Barnraising in Woodburn, OR. Photo credit: The Prometheus Radio Project.
Although Prometheus aided in the format of the event and the literal construction, in every instance, the process of education and development that occurred over the course of the barnraising was shaped by the input of the convening community group and all the participants in the event.
Installing new technical infrastructure through collaborative educational processes that instill community ownership is also readily present in the work of:
- Red Hook Wifi: a community wireless network in Brooklyn that is maintained by the Digital Stewards, an educational program for young adults)
- Free Geek: which provides access to free computers built by a community for a community)
- Public Lab: an international community of citizen scientists who develop and share tools and techniques to aid in each others’ distributed research
***
Up next is Mode #4: Lead from Shared Spaces.


 Note: here at Smart Chicago, livestreaming events on our YouTube Channel is a core activity. We do this because we want people around the county to be able to see all the civic innovation going on in Chicago and because we feel that this knowledge is useful past the actual event itself. We have hundreds of hours of videos about civic innovation in our archives. Christopher Whitaker is the King of the Stream over here, so I asked him to document how he does it. Here’s his take. —dxo
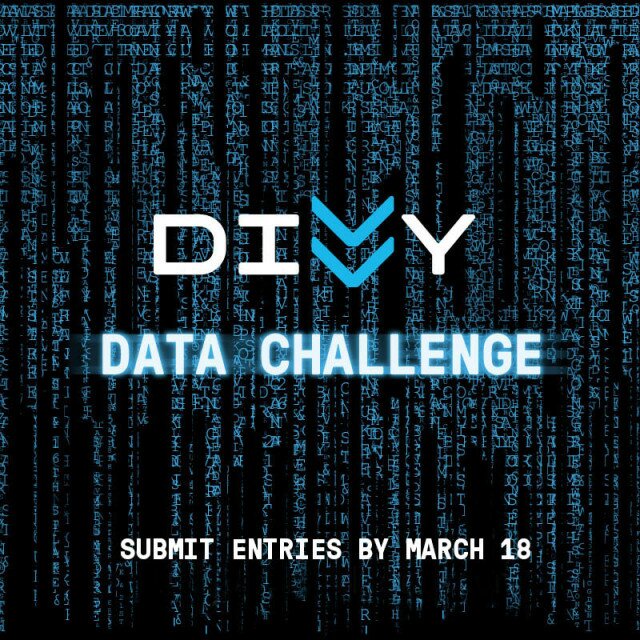 At the last OpenGov Hack Night, Divvy announced the 2015 Divvy Data Challenge to celebrate a whole year’s worth of data becoming available. This is the second year that Divvy has issued a data challenge. Last year’s winner’s ranged from apps that chimed to the frequency of somebody checking out a Divvy bike to apps that helped single people meet other single people who ride Divvy.